Cooking with Iain
I have been baking our own bread for so long now, that I can't remember the last time we bought a loaf in a supermarket. Perhaps it was when we were on holiday abroad, and Chris wanted some for toast for breakfast- I usually stick to my porridge even when abroad.
Similarly, I have been making my own soup for far more years than I care to remember. I used mostly to make Scotch Broth, but for the past few years we have grown so many tomatoes in the greenhouse that all the soup has hads to be be tomato to use them up.
With the bread and soup we make as much as possible in one go, then freeze, and use as required. Both freeze very well and still seem freshly baked on de-frosting.
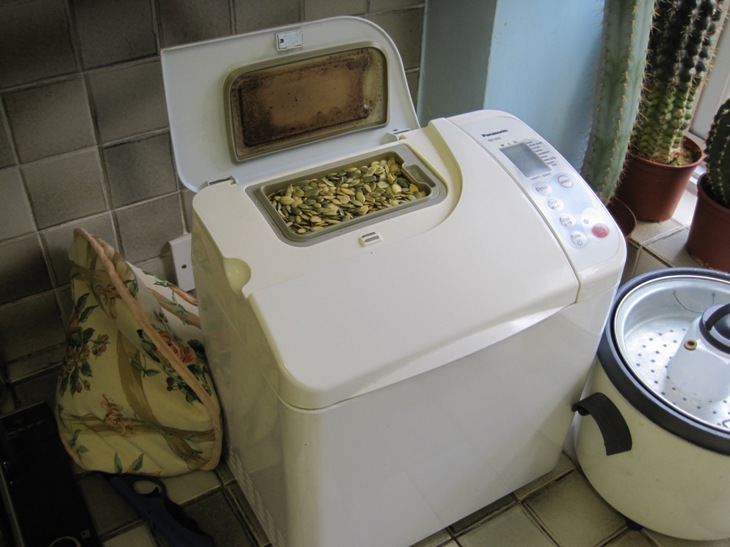 I know many will frown at the suggestion of using a bread machine to bake bread, but it really makes the whole process so simple and foolproof that even I can succeed. Why make life more difficult?
The machine that we use is a Panasonic model SD-253. This has a built in "raison" tray where raisons, or seeds, or nuts, or whatever dry ingredient you want to add to the bread can be loaded at the start, and then you press go, and leave the machine to take care of absolutely everything. The mixture is allowed to stand, then is mixed, a dough is formed, allowed to stand, (the "raisons" were added automatically and mixed in at the correct stage) etc, etc, the bread is baked and the whole process is done for you. All you have to do is switch off at the end, and remove and slice the loaf. You can even set the timer switch, go off to bed, and wake in the morning to the glorious smell of freshly baked bread.
We started making our own bread years ago when we bought our son Jamie a bread making machine for Christmas. Unfortunately we had just bought an entry level non Panasonic machine, and also unfortunately it broke down after a few months. Jamie took it back to the shop where we bought it, got a refund, replaced it with a Panasonic, and was so impressed that he bought us one for our Christmas the next year. And we in turn were so impressed that we bought one for our daughter ! All three machines have given long and trouble free service. What more need I say.
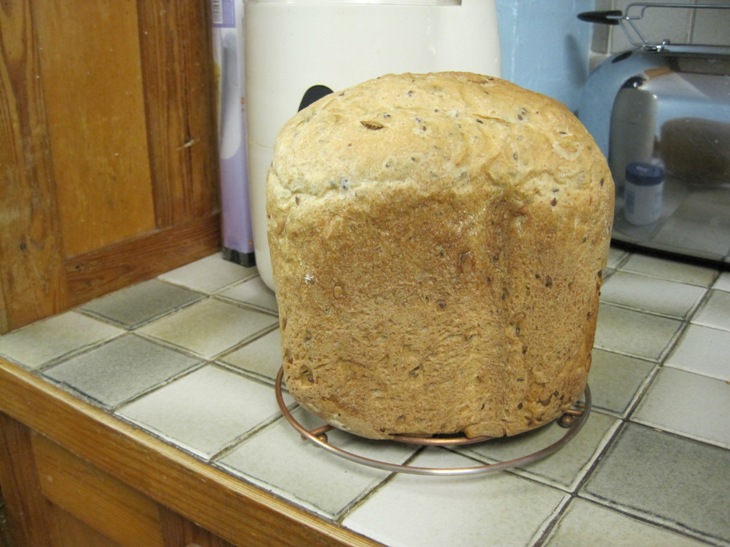 The Panasonic comes with a recipe book from which I got a basic recipe that I use most of the time. Remove the baking tray from the machine, and stand it on a accurate kitchen scales that weigh in grams. Add the ingredients in the order given in the following recipe : -
- 1. 400 grams cold tap water
- 2. about 125 grams Hovis strong Wholemeal brown flour
- 3. about 475 grams Hovis super strong Premium White Bread flour
- - note that 2. and 3. must add up to 600 grams exactly, but the ratio of brown to white flour can be varied to taste
- 4. 1.5 tablespoon measures of sugar
- 5. 2 tablespoon measures of dried milk powder
- 6. 25 grams of butter
- 6a. (sometimes I also add 30 to 40 gms cheddar cheese)
- 7. 1.5 teaspoon measures of salt
- 8. 1.25 teaspoon measures of Hovis fast action bread yeast
An optional extra is to add various seeds to the "raison" tray
- about 60 grams Linseed
- about 40 grams Sunflower seeds
- about 40 grams Pumpkin seeds
 Method
The water goes in first, and the flour sits on top of the water. The other ingredients sit on top of the flour. Add the salt to one side of the tray, and the yeast to the other - ie keep these two dry, and separate until the mixer mixes them. Measure / weigh everything very accurately. Panasonic supply plastic table and tea spoon measures with quarter, half, and three quarter marks on them.
Set the bread maker per the instruction book - in this case to make a full size loaf, with a basic 4 hour bake, include the bake raison instruction to add the seeds, and set it to give a soft crust.
I remove the bread from the baking tray as soon as it is ready, and leave the loaf on a trivet to cool. It is easier to slice the bread when it has quite cooled down - but if you want a slice of warm bread, why not.
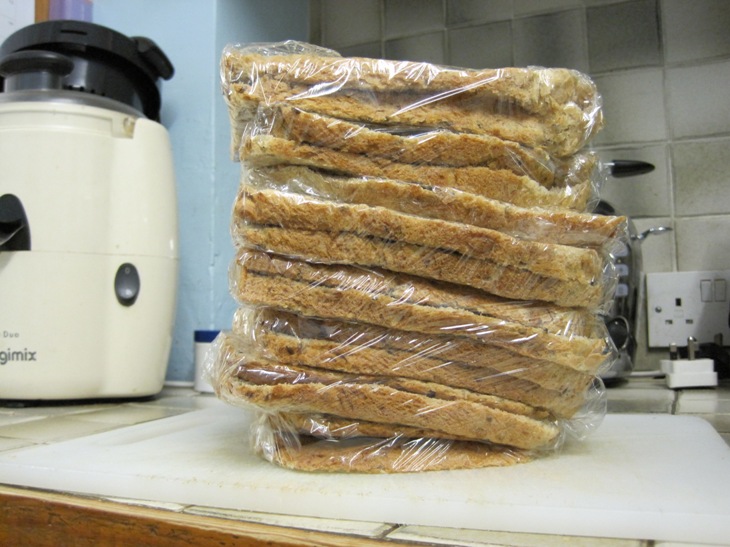
The above recipe produces about an 1100 gram loaf. Typically I get about 15 x 73 gm slices, each about 140 calories. Bread not to be eaten the same day is wrapped in pairs of slices in cling film, and frozen until required. It keeps well, and tastes fresh on defrosting.
Links to Cooking index and home page
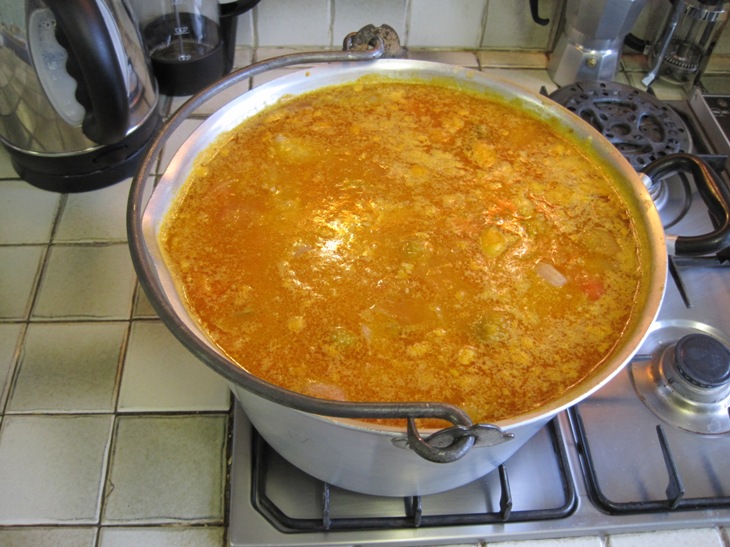 I make my soup in bulk, and freeze it in double servings in 750 ml plastic containers. I use homegrown tomatoes - Moneymaker or Gardener's Delight - which have been stored frozen in the garage freezer, so I have two things to do before I can start to make the soup :-
- Make liquid stock
- Peel the tomatoes
Make the stock
Most Sundays we have a roast - usually chicken or lamb - and keep the carcase / bones in the freezer until required. To make the stock I simply fill a large pressure cooker with as many frozen bones as I can fit, add water, bring up to pressure, and leave to steam for about an hour. I then sieve the stock liquid into another pan, and set it aside to add later to the soup stew. When the bones have cooled down I cut away any lamb or chicken meat that is still there - also to add to the soup stew.
Peel the skin from the frozen tomatoes
I fill a medium sized sauce pan with frozen tomatoes, boil some water in a kettle, and pour and cover the tomatoes with the boiling water. The skin is then very easilty removed from the still frozen tomatoes. Usually I need about 3 pan fulls of tomatoes in my bulk recipe.
 The recipe is as follows :-
- 1. bones for stock
- 1a scraps of meat recovered from the above bones
- 2. about 7 lbs of frozen or unfrozen peeled tomatoes
- 3. 3 to 4 ozs of butter or Stork margarine
- 4. 6 large onions
- 5. about 5 ozs of eg Basmati rice
- 6. optional - 22 grams of salt
I make my soup in the largest pan that we have, which is a preserves pan. The above makes 22 servings of soup, where one serving is two ladle fulls, or 2 x 150 mls.
 This is what you do
Make the stock and peel the frozen tomatoes as described above. The stock is left to steam for about an hour, then strained, and any meat on the bones is removed and saved. Peel and roughly cut up the six onions. Melt the butter or margarine in the preserves pan, and add in the onions. Stir with a wooden spatula and gently heat to soften the onions - don't brown the onions, just soften them. Then add the frozen tomatoes, the stock, and top up with sufficient water to almost fill the pan. When the tomatoes have completely thawed gently squish most of them against the side of the pan. Add about 5 ozs of Basmati rice, any meat scraps recovered from the bones and salt to taste. I used to add no salt, but for some time had a temporary medical problem with low salt levels - so now I add 1 gm of salt per serving, 22 grams in total.
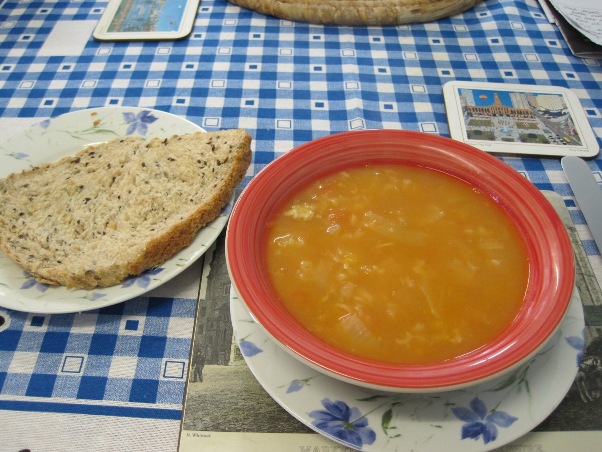
Simmer for about an hour until the rice is soft, then switch off the heat, top up the pan to the brim with tap water, and leave the soup to cool.
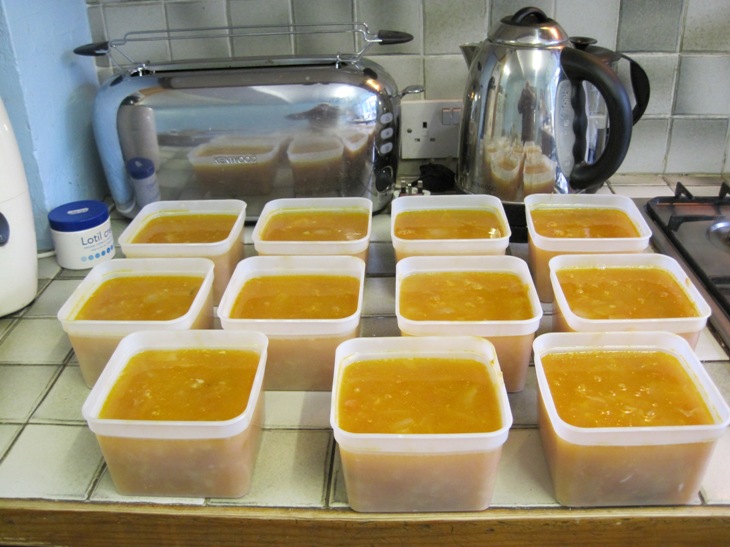
The soup is then ladled into 11 x 750 ml plastic containers - 4 ladles to each container = 2 servings. When completely cold, the soup is frozen for storing, and defrosted to enjoy when required.
Links to Cooking index and home page
 I know many will frown at the suggestion of using a bread machine to bake bread, but it really makes the whole process so simple and foolproof that even I can succeed. Why make life more difficult?
 The Panasonic comes with a recipe book from which I got a basic recipe that I use most of the time. Remove the baking tray from the machine, and stand it on a accurate kitchen scales that weigh in grams. Add the ingredients in the order given in the following recipe : -
 Method
  I make my soup in bulk, and freeze it in double servings in 750 ml plastic containers. I use homegrown tomatoes - Moneymaker or Gardener's Delight - which have been stored frozen in the garage freezer, so I have two things to do before I can start to make the soup :-
 The recipe is as follows :-
 This is what you do